


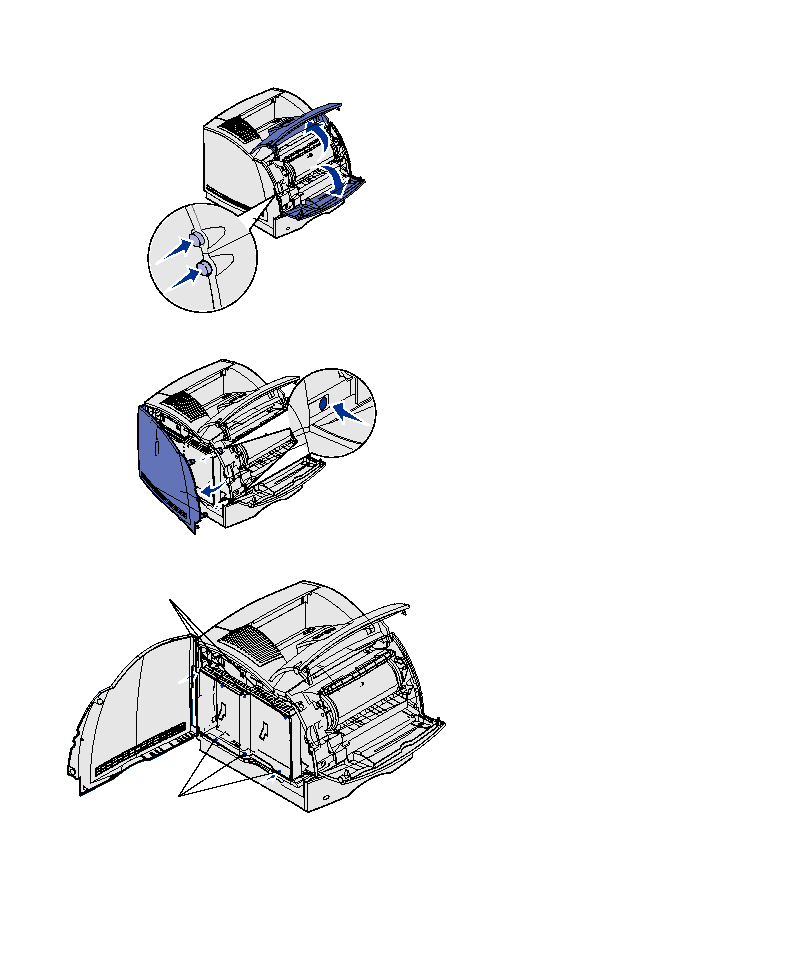
the upper and lower front doors.
latches and open the side door.
screws on the shield.
loosen these screws.
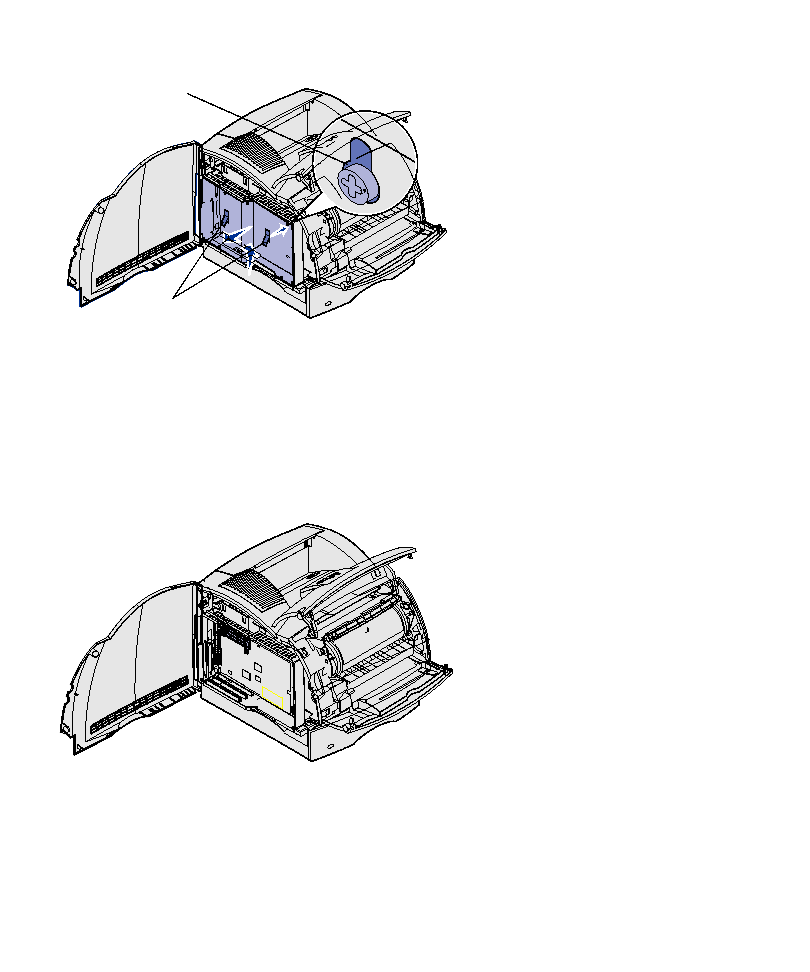
until the top three screws fit into
the three keyholes on the shield.
it off.
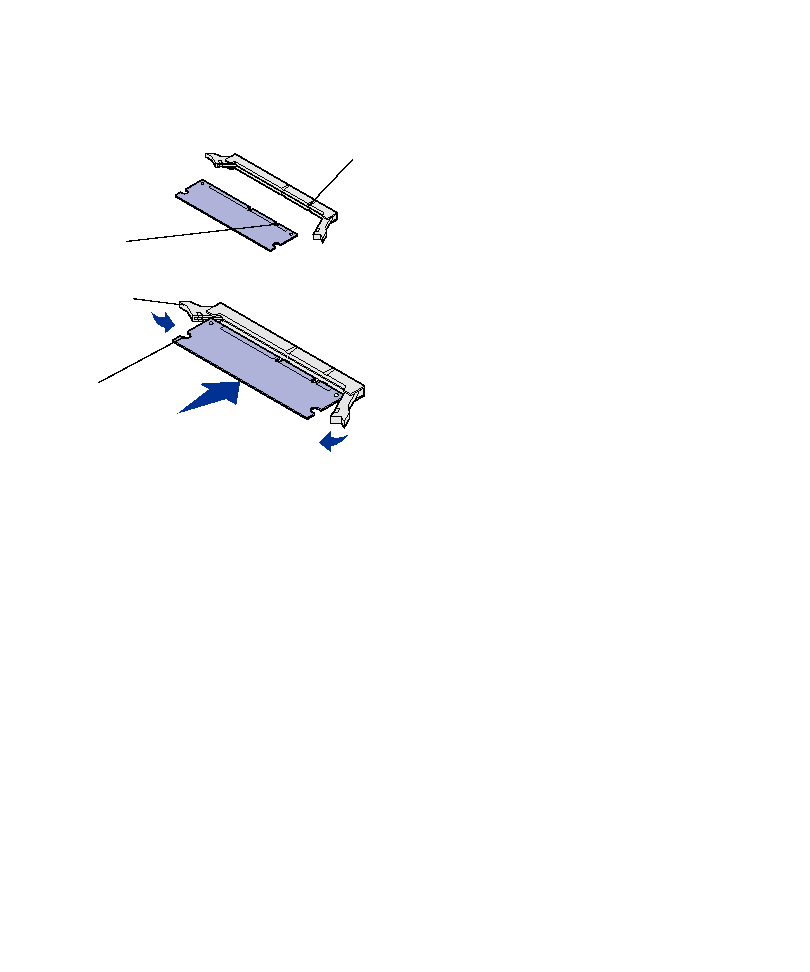
or firmware card
install an optional flash memory or
firmware card. The system board has two
connection locations which can support a
total of one flash memory card and one
firmware card.
metal on the printer before you touch a card.
firmware card.
the bottom of the card. Save the
packaging.
firmware card by its sides, align
the plastic pins on the card with
the holes on the system board.
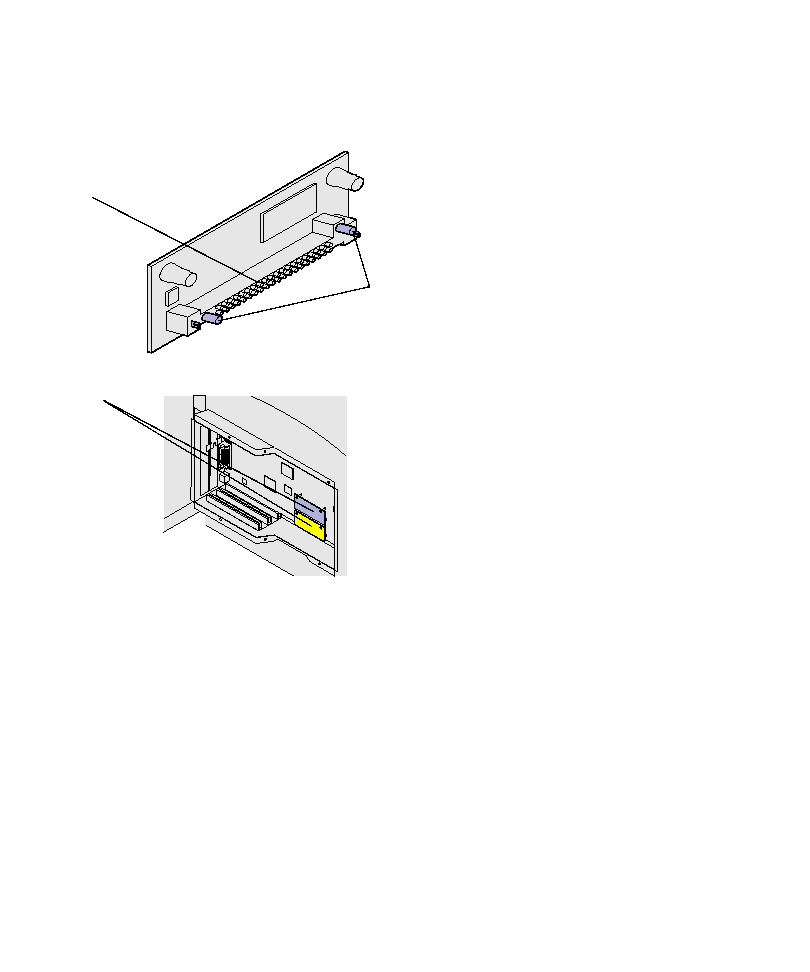
the bottom system board
connection first, and then the top
one.
firmware card is firmly in place.
Contact Us | Privacy Policy | Return Policy